Recently, I had the misfortune of having my trusty reflector (a staple in all respectable photographer's kit) shredded to pieces mere hours before a shoot, with no access to a back-up. Thankfully, part of the job is to be as resourceful and creative when the time calls for it, and I was able to manufacture a very cheap and equally effective replacement within all of five minutes. Whilst reflectors are relatively cheap (with some costing only £10-£15 on the likes of eBay) this is a very economically and financially friendly alternative Do-It-Yourself tutorial for those in a pickle or with little access to mainstream equipment.
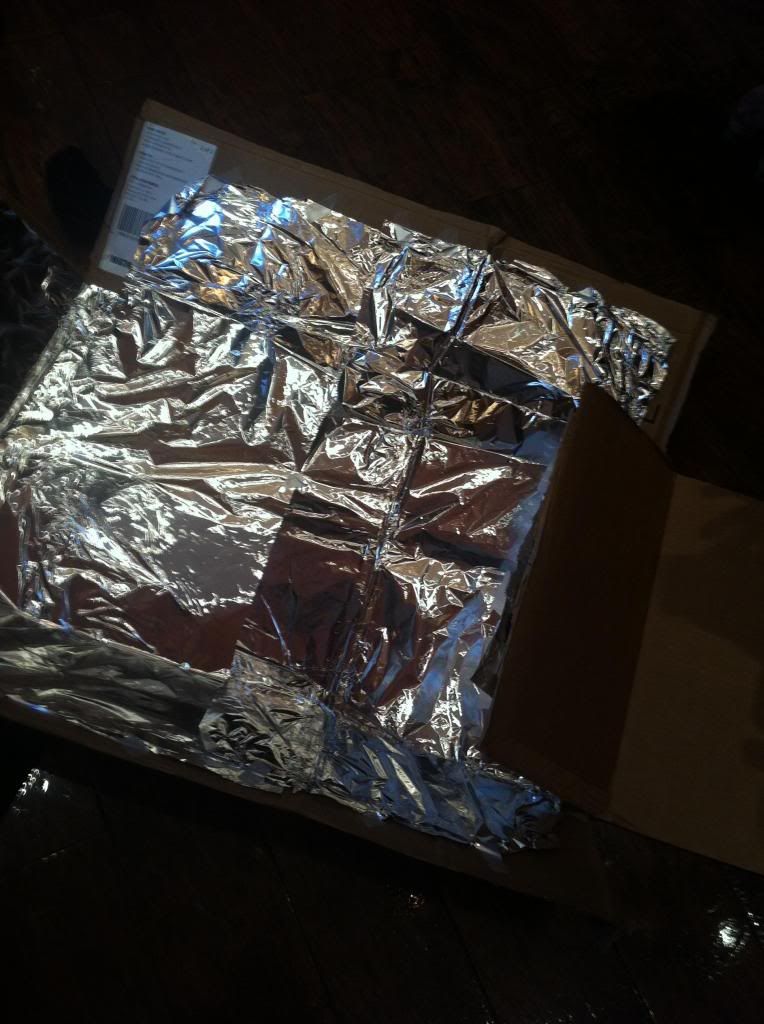 |
| An iPhone snap of my own creation! |
Difficulty: Easy
Time: 5 minutes
Materials: Cardboard box, scissors, tape and aluminium foil
1. Source a cardboard box - most grocery shops will have these kicking around in the back ready to go to the dump. If you ask very nicely they are more than willing to allow you to take some off their hands. (This is also handy to know for people moving house!)
2. Using the scissors, cut out a flat surface on the cardboard box - remove any flaps - they are going to hinder you or your assistant when shooting.
3. Cut a sheet of aluminium foil to cover the surface of your cardboard and lie flat without any crinkles.
4. Tape your foil down to the cardboard and voila, you have your own make-shift reflector!
Hints and Tips
- Remember to always take care with sharp scissors!
- Unable to access aluminium foil? Not a problem - mirrors also act as reflective surfaces.
- Whilst not my personal preference, white paper/cloth will also reflect.
- Try switching between silver and gold foil to produce warmer and colder tones.
Happy shooting!
L x
No comments:
Post a Comment